CDN Setup Secrets: What WordPress Experts Cache (And Skip)
A CDN setup is one of the most effective ways to improve your website's performance and user experience across different geographic locations. Content Delivery Networks distribute your static assets like images, CSS files, and JavaScript across multiple servers worldwide, ensuring visitors receive content from the nearest server location rather than your origin server thousands of miles away.
Understanding the fundamentals of CDN implementation can reduce page load times by up to 50% and significantly decrease server bandwidth costs. Whether you're running an e-commerce platform, a media-rich portfolio site, or a high-traffic blog, proper CDN configuration makes your website faster and more reliable for users everywhere.
Understanding How CDN Works
Before learning how to setup a CDN, you need to understand its basic architecture. A CDN consists of edge servers strategically placed in different locations that cache copies of your static content.
When a user visits your website, the CDN automatically routes their request to the nearest edge server instead of your origin server. This proximity reduces latency and improves loading speed.
Most modern CDNs also offer additional features like automatic image optimization, security protection against DDoS attacks, and real-time analytics. These capabilities make setting up a CDN an essential step for any serious web project.
CDN Setup Requirements and Preparation
The first step in CDN configuration involves evaluating your website's current performance and identifying which assets would benefit most from distribution. Static resources like images, videos, CSS, and JavaScript files are ideal candidates.
You'll need to choose a CDN provider that matches your needs and budget. Popular options include Cloudflare, Amazon CloudFront, Fastly, and Akamai. Each offers different pricing models and feature sets.
Before proceeding, ensure you have access to your domain's DNS settings and your website's backend. You'll also want to create a backup of your current configuration in case you need to revert any changes.
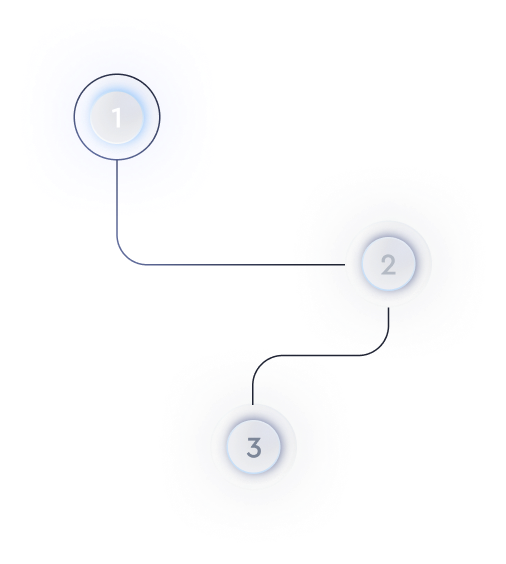
Step-by-Step Guide: How to Set Up a CDN
Learning how to create a CDN connection starts with signing up for your chosen provider's service. Most providers offer a straightforward registration process with immediate access to their dashboard.
Next, you'll add your website domain to the CDN platform. The provider will generate specific DNS records that you need to update in your domain registrar's control panel. This process typically involves changing your nameservers or adding CNAME records.
After DNS propagation (which can take 24-48 hours), you'll configure your caching rules. These rules determine which files get cached, for how long, and under what conditions the cache gets refreshed.
The final step involves updating your website's asset URLs to point to the CDN. Many content management systems have plugins that automate this process, making the transition seamless.
CDN Configuration Best Practices
When you setup CDN server rules, start with conservative cache durations and gradually increase them as you monitor performance. Set shorter cache times for frequently updated content and longer durations for static assets that rarely change.
Enable compression for text-based files to reduce bandwidth usage further. Most CDNs support Gzip or Brotli compression, which can reduce file sizes by up to 70%.
Configure proper cache headers on your origin server to work harmoniously with your CDN. Headers like Cache-Control and ETag help manage content freshness and prevent serving outdated content to users.
Consider implementing advanced caching strategies for dynamic content using edge computing features if your CDN provider supports them.
Common CDN Example Configurations
A typical CDN example for a WordPress site might involve using a plugin like W3 Total Cache or WP Rocket to automatically rewrite asset URLs. These plugins handle the complex URL rewriting process and integrate seamlessly with major CDN providers.
For custom-built applications, you might implement CDN integration at the application level. This approach gives you more control over which assets get served through the CDN and allows for more sophisticated caching strategies.
E-commerce sites often use multi-CDN strategies, employing different providers for different asset types. Product images might use one CDN optimized for image delivery, while JavaScript files use another focused on application performance.
Monitoring and Optimization
After your initial setup, continuous monitoring helps ensure optimal performance. Use your CDN provider's analytics dashboard to track metrics like cache hit ratio, bandwidth usage, and geographic distribution of requests.
Regular performance testing using tools like GTmetrix or WebPageTest reveals how your CDN impacts real-world loading times. Pay attention to Time to First Byte (TTFB) and overall page load times from different geographic locations.
Adjust your configuration based on these insights. You might need to add more aggressive caching for certain file types or implement additional optimization features like image lazy loading or minification.
Successfully implementing a CDN transforms your website's performance and reliability. The initial setup process requires careful planning and configuration, but the benefits in terms of speed, reduced server load, and improved user experience make it worthwhile. Start with a basic configuration, monitor the results, and gradually optimize your setup as you become more familiar with your CDN's capabilities. Remember that modern web platforms often include built-in CDN features that can simplify this process even further.