Enhancing user experience (UX) and design means improving how users interact with and perceive a product, leading to increased satisfaction and conversions.
Effective design captivates users, guiding them seamlessly through content while building trust and encouraging action.
By the way, Merge's Webflow development services extend to ensuring your website is streamlined for improved user experience and SEO.
1) Smooth animations and interactions
a) Custom animations
Custom animations, when crafted with a specific purpose, can enhance user engagement, making the website feel alive and responsive.
These are distinct animations that are not usually achievable through generic animation tools and can be tailored to the nuances of your brand's voice.
They work best when they serve a function beyond just aesthetics—like guiding user attention, indicating a state change, or providing feedback on an action. However, they can increase site load times if not optimized, and hence, careful use is paramount.
Step-by-step guide on custom animations:
- Identify animation points. Determine which elements or interactions would benefit from custom animations.
- Storyboarding. Visualize the animation flow and the desired outcome. This can be done through sketches or digital tools.
- Choose tools. Use platforms like Adobe After Effects or Lottie for crafting.
- Create the animation. Develop the animation, keeping it smooth and functional.
- Optimize. Ensure the animation is lightweight and doesn’t impact site load times.
- Integration. Embed the animation into your Webflow site using appropriate methods like Lottie integration.
Tip: Keep animations subtle and purposeful. Ensure they accentuate content without overwhelming or slowing down the user journey.
b) Webflow's native animation tools
Webflow provides extensive animation tools under its interactions panel, allowing designers to animate objects on triggers like page load, scroll, or mouse movement without needing to code.
The advantage is the ease of integration and consistency across the website. However, over-reliance can make a site feel generic.
Balancing Webflow's tools with custom animations can yield a unique yet cohesive site design.
Tip from our Webflow developer:
When working with animations on your website, it's crucial to exercise caution. Consider using CSS instead of Javascript whenever possible to avoid overloading your site and ensuring smoother performance.
Step-by-step guide on native animation tools:
- Understand Webflow’s capability. Familiarize yourself with Webflow's 'Interactions' panel.
- Select elements. Choose which website elements should have animations.
- Apply triggers. Assign animation triggers such as scroll, click, or hover.
- Design animation. Using the timeline, design the animation sequence.
- Preview. Regularly preview the animation within Webflow to ensure it’s functioning as desired.
- Optimize for devices. Ensure animations are optimized for all devices, are not too frequent, and do not hamper usability.
Webflow optimization case study №3
Tip: When optimizing user experience and design, pay close attention to image and media assets. Reducing their size and optimizing their performance can significantly enhance the overall website or application performance.
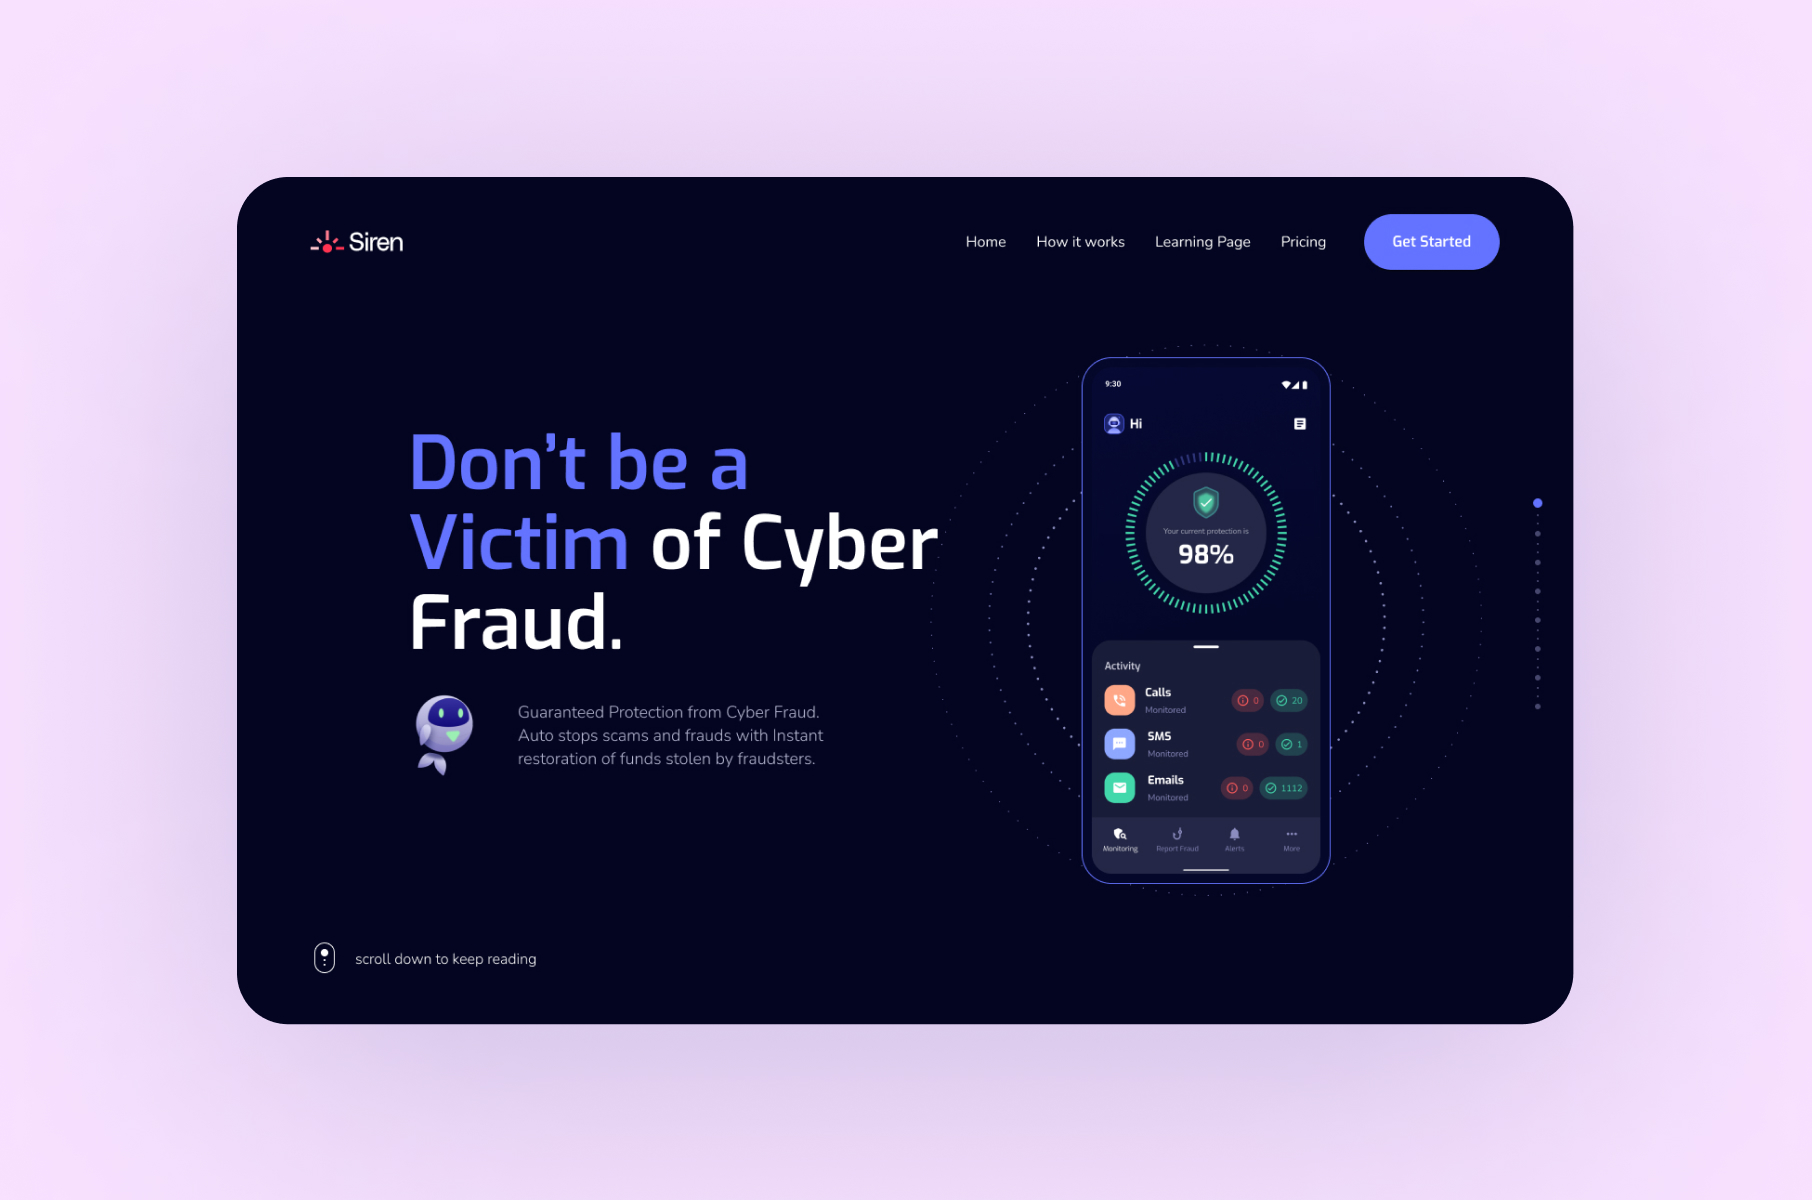
For example, in our work with Siren, we focused on optimizing images and media assets to ensure smooth performance. By carefully managing these elements, we achieved a seamless and responsive user experience, enhancing the overall quality of the product.
Outcome: Through diligent image and media optimization, Siren's product achieved a remarkable level of performance and responsiveness. Users benefited from a smooth and enjoyable experience while navigating the platform, resulting in improved user satisfaction and trust in the product's effectiveness in safeguarding against cyber threats.
2) Parallax scrolling and performance
Parallax creates an illusion of depth by making the background and foreground content move at different speeds.
It's visually engaging and can create a storytelling effect as users scroll. While it offers an immersive experience, parallax can be resource-intensive, possibly slowing down the site.
While visually appealing, parallax can affect performance and might not always be mobile-friendly. It's essential to test its impact on loading times and ensure it doesn't disorient users.
Step-by-step guide on parallax scrolling:
- Conceptualize. Determine where on the site parallax would enhance storytelling or engagement.
- Choose elements. Identify which elements will move in the foreground and which in the background.
- Implement in Webflow. Use the 'Interactions' panel to set different scroll speeds for chosen elements.
- Test performance. Monitor the website’s performance, ensuring the parallax isn’t causing lags.
- Adjust for mobile. Ensure the parallax effect doesn’t diminish the mobile experience. Consider disabling it for mobile if necessary.
- Iterate. Based on feedback and performance, tweak the parallax effect as required.
3) Color and performance
Colors aren’t just visual elements; they communicate emotions, prioritize content, and guide user interactions.
The psychology of color plays a pivotal role in how users perceive a brand and their subsequent actions on the site. A well-optimized color palette can increase readability and conversions.
However, using large, unoptimized colorful assets or backgrounds can slow down a site. Also, it's essential to be aware of color perceptions across cultures, ensuring the palette is universally appealing.
Step-by-step guide on color and performance:
- Palette creation. Develop a consistent color palette that resonates with brand identity.
- Incorporate in Webflow. Use Webflow's Style panel to apply these colors consistently across elements.
- Test contrast. Ensure text-background contrast ratios are optimal for readability.
- Optimize assets. Compress colorful images or assets to maintain quick site load times.
- Cross-cultural check. Research to ensure the palette doesn’t have unintended connotations in other cultures.
- Gather feedback. Ask users or peers for feedback on the color scheme's effectiveness and aesthetics.
4) Emphasizing accessibility in design
Accessibility in web design ensures that everyone, including those with disabilities, can engage with a website's content.
A website optimized for accessibility caters to diverse user needs, from visual and hearing impairments to motor and cognitive challenges, creating an inclusive digital experience.
Remember, businesses that truly care prioritize accessibility. Robots might not "see" a button, but they can "read" the text. Incorporating accessibility not only supports inclusivity but also enhances SEO and user engagement.
Step-by-step guide on accessibility in design:
- Education. Familiarize yourself with Web Content Accessibility Guidelines (WCAG).
- Implement semantic HTML. It provides clear structure and meaning for both users and search engines. Use appropriate HTML elements like headings, paragraphs, and semantic tags like
<nav>,<header>, and<footer>in Webflow. - Offer alternative text for images. Alt text aids users with visual impairments and enhances SEO.
- Provide captions and transcripts for media. Create captions that include all auditory information, not just dialogues. Give users the option to enable or disable captions based on their preference.
- Prioritize keyboard navigation. Navigate your Webflow site using only the Tab key, ensuring every interactive element is accessible. Ensure the tab order is logical, following the visual order of the page elements. Make sure users can easily spot the active element using a distinct focus indicator.
- Guarantee color contrast. Proper color contrast aids those with visual impairments. Employ tools like WebAIM's Colour Contrast Checker to evaluate color combinations. Aim to meet or surpass the recommended contrast ratios.
- Design accessible forms. Ensure each form element in Webflow has an associated, clear label. Implement recognized elements like
<input>,<select>, and<textarea>.
5) Accessibility 2.0. Voice search optimization
With the growing prevalence of voice-activated virtual assistants, optimizing your Webflow site for voice search is crucial. Use conversational language and target question-based queries. Tool: AnswerThePublic can provide commonly asked questions in your niche.
Step-by-step guide on voice search optimization:
- Target long-tail keywords and natural phrases. Prioritize long-tail keywords and employ natural, conversational language within your content to align with how users perform voice searches.
- Address frequently asked questions. Ensure your content comprehensively covers the most common questions in your niche, as voice search often revolves around seeking quick answers.
- Verify Structured Data Markup (Schema). Regularly update and maintain your website's structured data markup to enhance content readability and improve search engine rankings for voice-activated queries. Accurate schema helps virtual assistants interpret and present your content effectively.
6) Collecting and acting on user feedback
Direct user feedback, whether it's through surveys, usability tests, or feedback widgets, offers a goldmine of insights.
It's the clearest window into how users perceive your site and where they face friction. Acting on feedback can lead to improved user satisfaction, loyalty, and conversion rates.
However, it's crucial to differentiate between isolated opinions and recurrent feedback. Making changes based on every single piece of feedback can lead to a disjointed user experience, so it's essential to prioritize and test suggested changes.
Step-by-step guide on collecting and acting on feedback:
- Determine methods. Decide how you’ll collect feedback (e.g., surveys, feedback widgets, usability tests).
- Integration. Incorporate chosen feedback tools into your Webflow site.
- Promote feedback collection. Encourage users to provide feedback, possibly offering incentives.
- Analyze collected data. Separate recurrent issues from isolated feedback.
- Implement changes. Adjust the design based on analyzed feedback.
- Follow-up. After changes, reach out to users, and verify if the adjustments improved their experience.